Writer, designer and one of the pioneers in socially responsive architecture, Cameron Sinclair on business…
How to Create High-Ended, Personalized Social Media Images
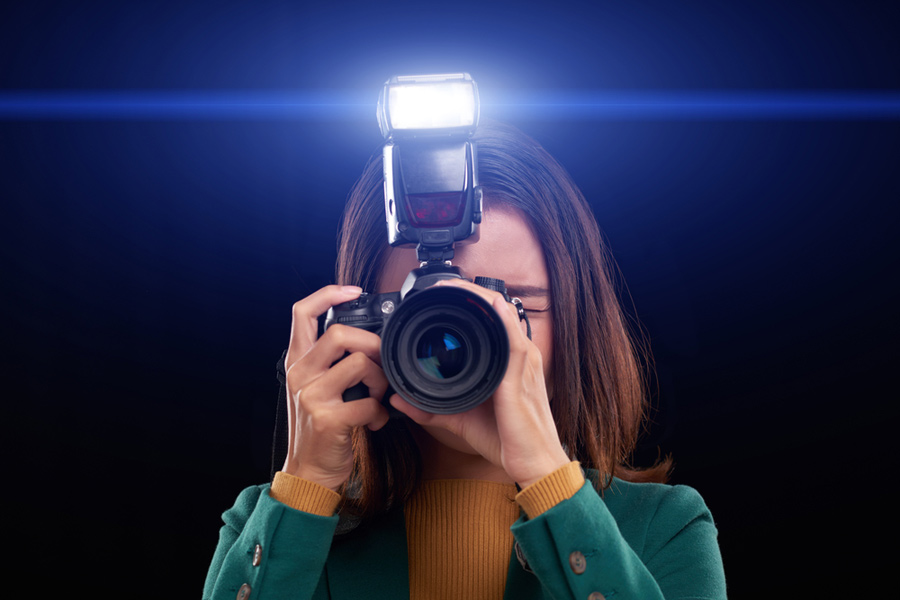
Meghan has been working hard all morning, and needs a break.
She pushes away from her desk, refills her cup of coffee, and settles back in her chair, to check what’s happening on Facebook.
And what does her eyes jump to, as she scrolls through her newsfeed? Images!
As people scan through their social media accounts daily, they’re looking for images that draw them in to reading status updates.
We all know this instinctively because we do it ourselves.
But the image effect has been studied, too. According to KISSmetrics, images get 53 percent more likes, 104 percent more comments, and 84 percent more click-throughs on links, than text-based posts.
“That sounds good, but I can’t make images. I’m not a graphics designer.” – You say
But, here’s the good news: It doesn’t take special artistic talent to make engaging social media images. You don’t have to hire an expensive designer, and you don’t need to buy or learn to use Photoshop.
At a social media bootcamp hosted by Pamela Wilson – an all-time strategic marketer and graphics designer, Pamela shares, and we bring to you, a simple formula you can use to create a single all-purpose image that works across many social media platforms, for your brand.
This article will show you:
- Where to find a great social media image (and what to look for)
- How to add text so it’s readable and gets attention
- One crucial element each social media image should feature (or don’t bother creating them at all)
- What versatile shape works on most social media platforms
Let’s get started making images!
The Anatomy of an All-Purpose Social Media Image
Step 1: Finding the Right Image
- The ideal social media image should be interesting, quirky, and show emotion through an expression or the overall atmosphere.
- Avoid images that are overly posed with perfect looking models. People relate to real photos on social media, these days.

- Search for images that have at least one area that is less busy. This will be the perfect place to add text.
Great places for finding images are:
- Pixabay.com: Free images with no attribution needed (that means you can use them without running a photo credit).
- Compfight.com: Creative Commons licensed images that require photographer attribution.
- BigStockPhoto.com: Vast collection of reasonable priced stock photos.
Meanwhile, every social media platform has different picture size requirements, and they are constantly changing. Here’s a page that stays updated with the latest sizes.
Pamela recommends you aim for a shape that is called the squarish rectangle. It typically looks like this:

The squarish rectangle is a horizontal image that is almost a square, but not quite. This shape looks great for Facebook, Google+, Instagram and Twitter posts. Its proportions are 4:3, so it’s a little wider, than it is tall.
More so, the interesting thing is, you can adapt this all-purpose-shape to a vertical size that works on Pinterest, too.
Step 2: Add Text
You’re going to add text to your image, hopefully in the area of the image that’s least busy, so your text doesn’t compete with the background.
The easiest way to do this is to use one of the many free online image editors. Favourite picks?
- PicMonkey.com: free, with a few added premium features you can use for a monthly fee
- iPiccy.com: free, ad supported
- Pixlr.com/express: free, with a streamlined and easy-to-use interface
They all work the same way: Start by uploading an image. Modify it by cropping it smaller if needed. Then add effects, layering on type, shapes, and frames. Once you’re happy with your edits, then you can save the final product.
(Be sure to read Step 3 before you save!)
Pro-Tip: If however, you found a great image but it’s too busy, try using a translucent shape to create a text area.
![]()
Here’s how to add a translucent shape in PicMonkey:
With your image uploaded, go to Overlays > Geometric. Choose one of the shapes, then in the dialog box that appears, pull the Fade slider to the right, until it becomes as translucent as you’d like.
You can then add your text in this box field. Some of the image will show through, but your text will be clear, and easy to read.
Step 3: Drive Your Viewers Home
Before you save your final product, it’s important to add one last finishing touch that will make your image a great brand ambassador as it appears on social media sites around the world.
You want to be sure people who see your image can easily find your website.
Don’t make them guess — add a website address or a business name right on the image.
Yes, add a CAT: call to action!

Usually the bottom left or right corners are best for adding CATs. Make sure it’s readable, and if needed, create another translucent shape to put behind it.
Step 4 (OPTIONAL): Adapt for Pinterest

Pinterest pins stand out best when they’re vertical.
The easiest way to make your squarish rectangle more vertical, is to add a coloured box above and below the image.
Keep a copy of your original photo. Upload it to your favorite image editing platform. Then add coloured boxes above and below the image to make a vertical shape.
To decide what colour these boxes should be, look at the colours in your image and choose colour themes from there.
These coloured boxes are also a perfect place to put text.
Step 5 (NOT OPTIONAL): Get Started!
These all-purpose images are ideal for busy small business owners, because with one work session, you create an image you can use to promote your business on Facebook, Google+, Instagram, Twitter, and even in email marketing.
These images look great at the top of blog posts, too — they’re fun to share, and become almost like ads for your post.
With a little extra effort, the same image will work for you on Pinterest, too.
Don’t wait another day!
Social media images are easy to create when you use this formula. See how much attention they get for your business, and you’ll find yourself making them all the time.
Up for the challenge? Use the comment box below, and let us know how your image-creation exercise went! Feel free to share this post 🙂
Related Posts


This Post Has 0 Comments